
Part 1 - Root Chords
Learning root chords is probably the hardest thing you'll have to do. Expect it to be slow going and frustrating and it should take several months before you feel comfortable forming the chords. Don't give up! It took me forever until I could make any kind of clean sound, let alone play three chords in a row at a decent pace.

Now let's try an A chord, I would ignore the fingering on this particular chart and just copy my fingers.
 Try to keep your fingers together and arched over the fretboard. Just like the piano, you don't want to lay flat sausages down on the keys.

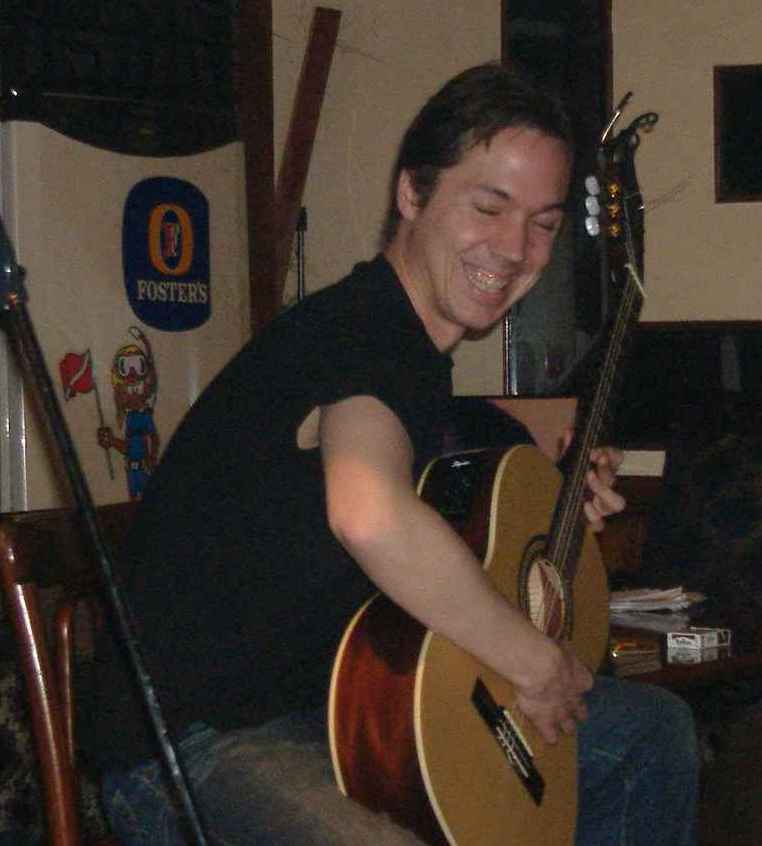
 Here is how this one looks, it is a hard one!

Just practice your fingering and moving from chord to chord. Here is a standard progression: E (8 beats) - D (8 beats) - A (8 beats) - E (8 beats) and repeat.
It is important that you keep your fingers curled above the fret board to avoid touching other strings and muting them out. In order to learn chords, you'll need to learn how to read Tab. Let's start with the E chord.
 Now imagine this diagram is actually a picture of your guitar's neck from the top. The numbers correlate to your fingers with the index being 1 and so forth. Just rotate it clockwise 90 degrees and this is how it should look.
Now imagine this diagram is actually a picture of your guitar's neck from the top. The numbers correlate to your fingers with the index being 1 and so forth. Just rotate it clockwise 90 degrees and this is how it should look.Now let's try an A chord, I would ignore the fingering on this particular chart and just copy my fingers.
Try to keep your fingers together and arched over the fretboard. Just like the piano, you don't want to lay flat sausages down on the keys.Ok, your fingers should be hurting! That is fine, hard part about starting out is that you are building up muscle finesse and also literally training your nervous system into a pattern your eyes can see but your fingers cannot. Expect some pain as you begin to build callouses on the tips of your fingers. Don't worry, they'll be invisible. Let's finish with the D chord.
Here is how this one looks, it is a hard one!Just practice your fingering and moving from chord to chord. Here is a standard progression: E (8 beats) - D (8 beats) - A (8 beats) - E (8 beats) and repeat.
There! You've just learned half of the Rolling Stone's repetoire.
posted by segovia | 8:51 PM
|
0 comments
![]()


